Here is what went on today:
- Removed the Lazy Eye mod equipment for resale.
- Removed the under engine bay tray, sprayed the engine and underside with degreaser and jet washed.
- Changed the gear stick boots and refilled the empty oil reservoir.
- Removed the windscreen wiper arms. Refurbished the flaking paint by sanding back, priming and repainting. Looks great!
- Removed door cards and sorted sticky electric windows with plenty of silicone grease.
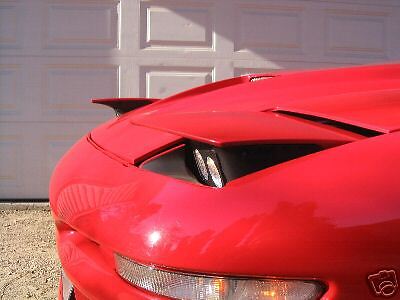
Lazy Eyes
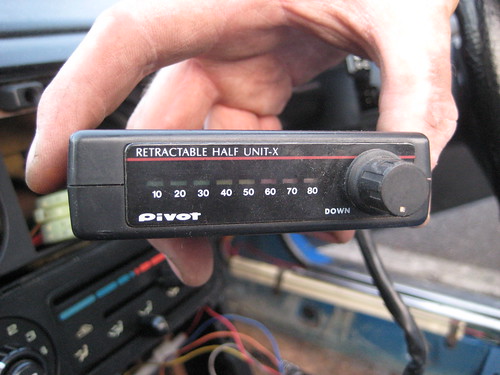
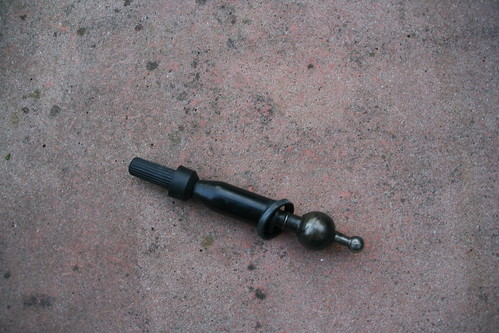
A modification that some people quite like is to tweak the 'pop-up lights' so that they only come up a part way. This is done using a little device that, as far as I can imagine, works as a resistor in the circuit and stops the motors fully lifting the lighting unit. For example in this image pinched from an eBay sale:
I'm not keen on this modification, so on finding that the car contained a Lazy eye unit tucked behind the dash, I removed it. It's been offered for sale to a guy from the MX-5 forum, so not all bad:
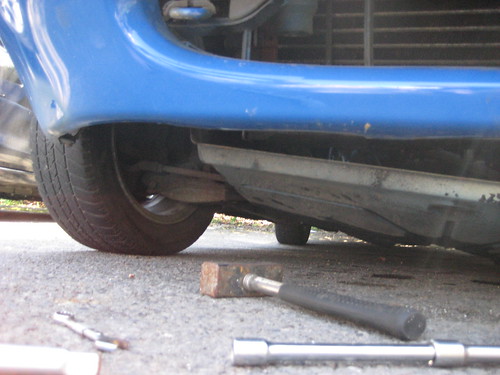
Under Engine Tray
Under the engine bay is a plastic tray that keeps stones and water out of the engine bay. As the problem with the engine is an oil leak, I've removed this tray so that a) I can clean up inside the engine bay properly and b) I can tell where the oil is dripping onto the floor, giving me a chance to hunt down the leak.
It's a pretty easy task to remove the tray - as long as the nuts haven't been rusted in place and/or rounded off. Oh.. Yes. Yes, they had. The're supposed to be 10mm but, a couple had rounded right off. I solved this by using a old 3/8in socket and a hammer. This essentially cut a new nut head, allowing me to extract the nuts. A good trick!
Having removed the tray - which was very, very oily! - I could easily get up into the engine bay from beneath. I was able to spray copious amounts of degreasant into the bay from on top and below. (I did remove the manifold heat-shield too to improve end top access). The was left for ten minutes and then jet washed off. I'm hoping that this will leave me a much cleaner engine bay ready to see where the leaks develop.
Change Gear Lever Boots
The little blue car was very smoky in the cockpit. This was due to the oil burning off in the engine bay - hope we've sorted most of that now. The smoke was rising into the cockpit through the ruined gearlever boot. Changing these should improve this situation and also the gear changes!
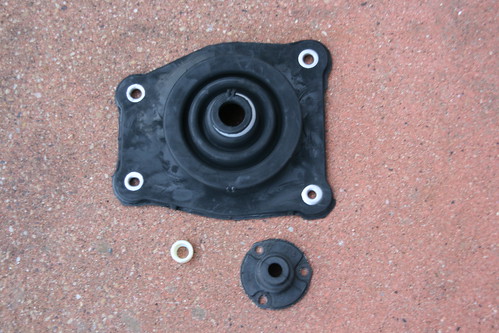
The original upper boot with not much rubber left:
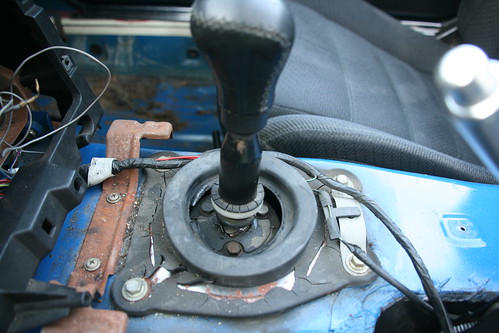
Showing the lower boot:
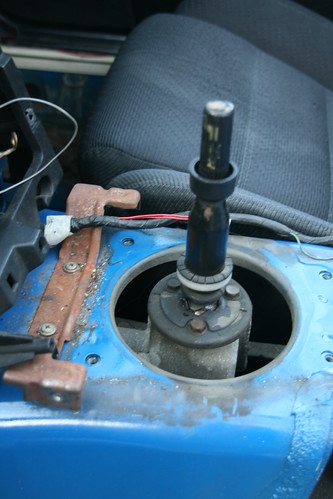
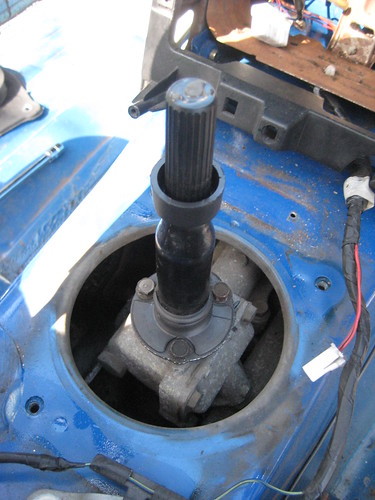
Gear shift removed from the car:
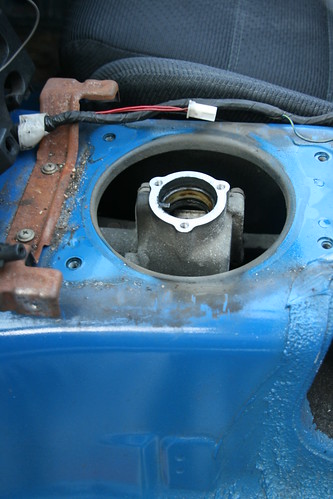
And the hole left behind... any oil in there? Nope!
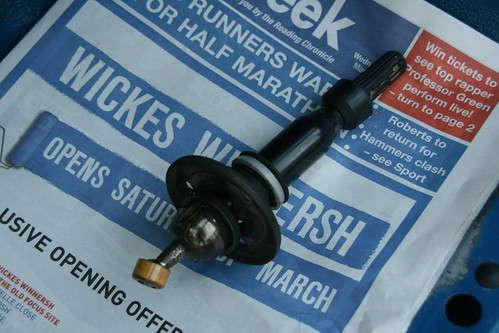
Removed the old boot by cutting it off:
New kit ready to go on:
It's a real challenge to get the lower boot over the shaft. You'll probably want to oil it to help.
And back in the car:
(We're missing a photo of the replace upper boot - will have to take one.)
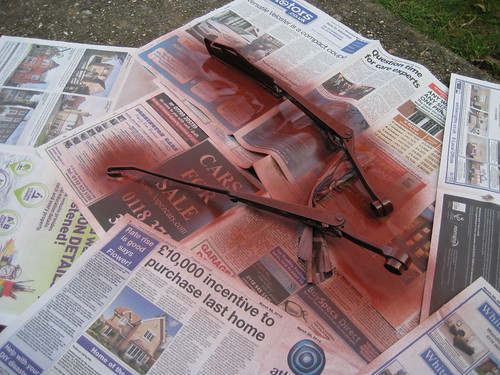
Refurbishing Wiper Arms
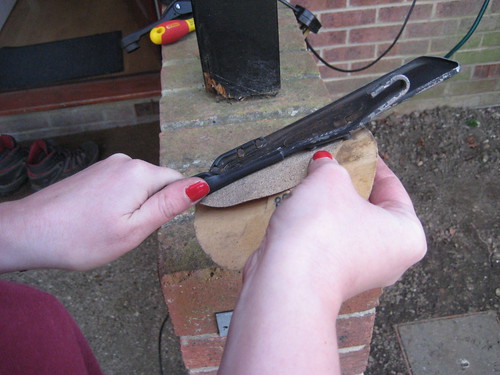
The MX-5 seems to be notorious about having poor paintwork on the wiper arms. All three of ours have suffered with this, so we've decided to refurbish them. It's a simple job to remove them, although it's a little tricky to pop them off the splines.
Then, a little sanding:
Followed by Red-Oxide primer and finally gloss black: