I wanted to use the original MX-5 runners for two reasons. Firstly, they are designed to fit into the floor pan perfectly. There are small slots in the floor pan and corresponding steel pins on the runners that mean they have extra strength that I would have to design into any home made version. Secondly, I really wanted the ability to move the seat because +Katy Lee is significantly shorter than I am and she would need to be much nearer the pedals! Plus we also like the idea of other people being able to drive the car without issue.
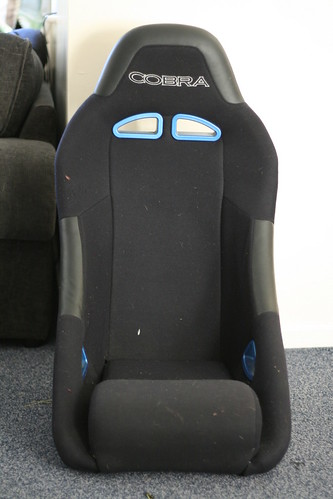
The Cobra seats have captive nuts in them that are in different positions from the standard MX-5 seats. That's not a surprise of course - these seats can be fitted into a whole bunch of vehicles, so it makes no sense to compromise on the design just to fit one little Japanese sports car.
The mounting points are narrower that the standard Mk1 seats, so my adapter had to be wider than the hole in the Cobra. These same mounting points are also further apart as you go front to back on the Cobra, meaning that my adapters would also have to be longer in that dimension.
An important note is that the driver and passenger Mk1 subframes are different widths, meaning that you need to create two different subframes on a similar design. The driver's seat is about 15mm wider. Go figure.
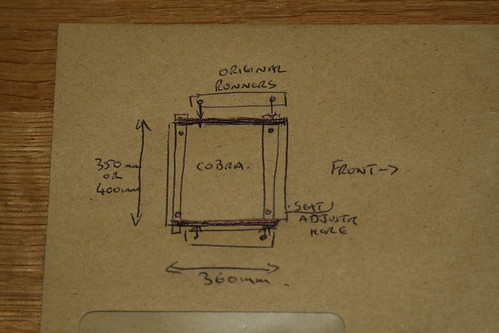
Time for a diagram on the back of an envelope!
Having talked to the MOT man, who said that "the seats just need to be firmly attached", I decided to use 25mm wide by 4mm thick steel strips. You can buy this in 2 metre lengths from B&Q. It barely flexes at the lengths that I'm using, so I consider this "firmly attached" when bolted together firmly.
To make these brackets, I used:
- 2 x Steel Strips (L)2m x (W)25mm x (T)4mm [B&Q part number: 3232630800003] @ £10.60
- 1 x Pack 10 of Bolts (W)M8 x (L)20mm [B&Q part number: 5020789852831] @ £2.48
- 1 x Pack 10 of Bolts (W)M8 x (L)25mm [B&Q part number: 5020789852855] @ £2.49
Total parts cost: £26.17

(Note: the two black bolts are the ones that came with the seat, and the other with them is one of those that holds the standard MX-5 seat to the frame. You won't need those and they are now so much scrap metal.)
And tools (that I already had to hand):
- 1 x 4mm metal drill bit
- 1 x 10mm metal drill bit
- 1 x variable speed drill
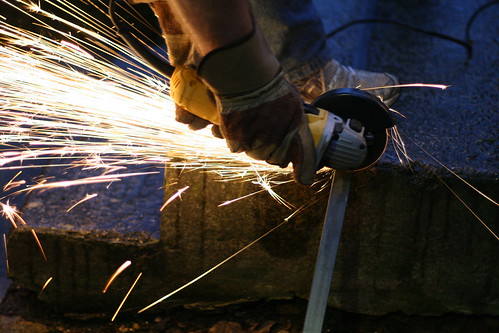
- 1 x angle grinder and cutting disk
- 1 x 3in1 oil as drilling lubricant
To make the bracket I cut the steel into the following strips:
- 4 x 360mm (Front to back, both seats)
- 2 x 400mm (Drivers seat, side to side)
- 2 x 350mm (Passenger seat, side to side)
I love using my angle grinder way too much. Here I am using my eight year old son as ballast!
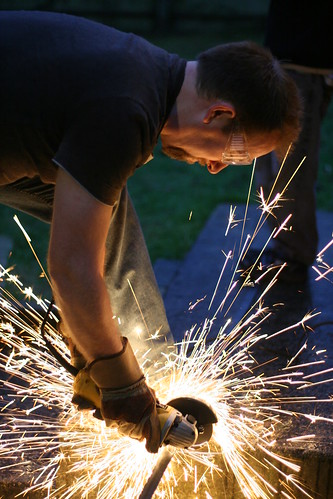
Mmmm. Sparks. :-)
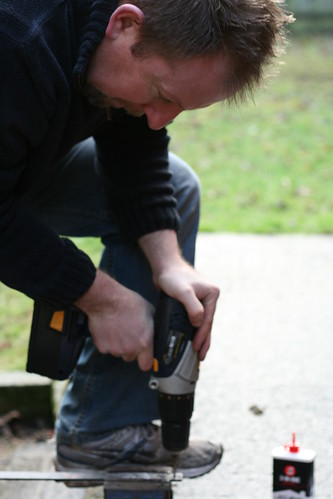
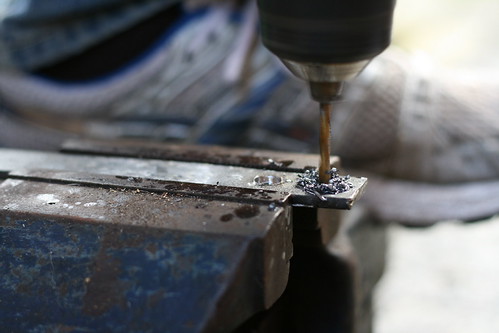
The holes were then measured ("measure twice, cut once" as my Grandpa used to say!) and drilled. The trick to drilling thick steel is to use a slow speed, lots of steady pressure and plenty of lubrication. In the picture, I'm drilling out a pilot hole using my 4mm metal cutting drill bit. The only drill that I have with sufficiently adjustable speeds is my 18v cordless. I had to recharge it a few times to get the complete project drilled out... perhaps it's time to upgrade to a DeWalt...?! Hmm, my Birthday is in March...
The 4mm pilot was then drilled out with a 10mm bit. You'll notice the can of 3in1. It's perfect lubrication for this work. I found that three squirts throughout the process was sufficient to cover a hole, but your mileage will vary with drill quality and speeds.
Another nice feature of the 3in1 as lubrication is that it binds the swarf together, making it easier to pick up and keep out of doggie paws.
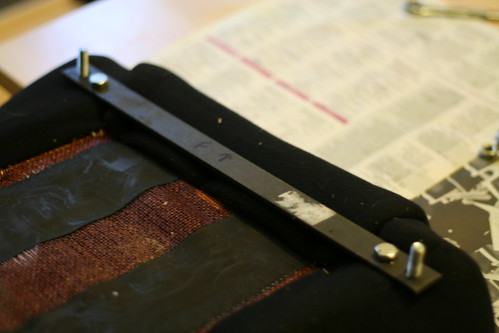
After that it was really a simple matter of fitting the brackets together. The front and back cross members were bolted into the captive nuts first (with bolts poking through to receive the side pieces).
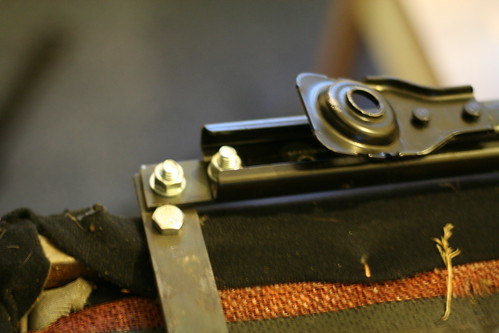
The finished bolts, similar on each corner. On the front, I went through all three layers with one of the longer bolts, while at the back I used shorter ones as shown here. There is some of clearance, so you arguably could use the longer bolts all round. Note that I have tried to ensure that the bolt 'tail' and the nuts are underneath so that there is less poking up to catch anything on:
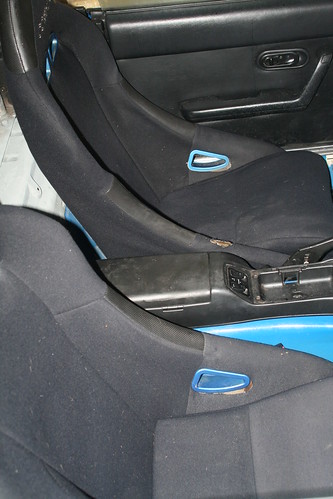
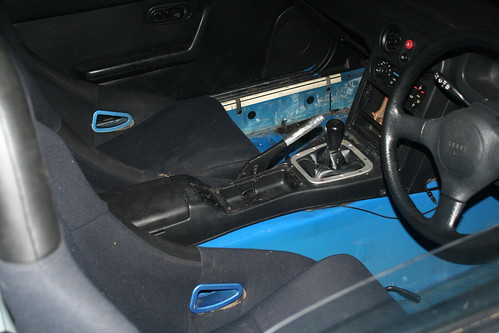
Here are the seats mounted in the car. The photos aren't great because it was raining outside, there is only limited space in the garage and I had the wrong lens on the camera!
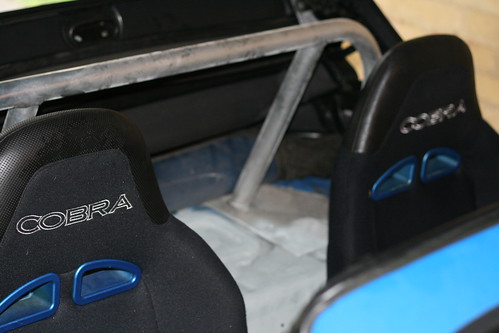
All done! Feel free to comment and or ask questions as always.